
Magic Snowflake Science Experiment — Fun Snow Science Experiments for Kids
Who doesn’t love a good snow day?! Since I live in Minnesota, there is never a shortage of snow over here. Even though the snow starts to get a little old towards the end of winter, there is nothing like the first snow of the season and watching flakes start to fall out of the sky. It always awakens a kind of childlike glee in me — and I know for a fact that students adore snow too!
During the winter season, It’s fun to include some festive, frosty activities in your curriculum. Snow activities are great because they can work for a variety of subjects, from arts and crafts time to science. Before winter hits every year, you can find me researching and creating engaging snow activities, especially snow science experiments for kids!
In my opinion, the best snow science experiments for kids are the ones that require as few supplies as possible. It’s even better if the supplies an experiment calls for are already lying around your classroom! If you know me, you know I’m all about keeping activities as low-prep and inexpensive as possible. In my book, the more accessible and stress-free the activity, the better!
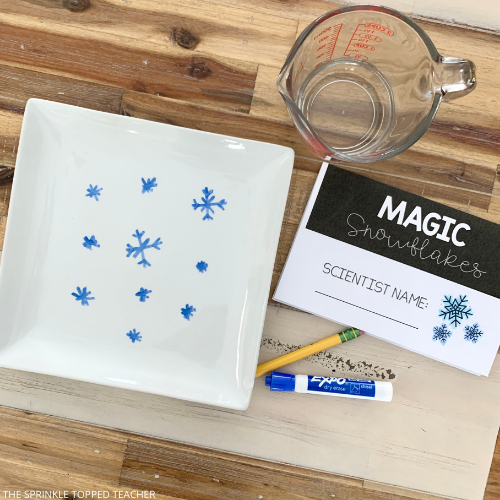
Out of all of my favorite snow science experiments for kids, one of my favorites has got to be this Magic Snowflake Science Experiment. It’s one of my go-to’s during the winter, mostly because it’s so low-prep. You only need three items to do it — yes, I said three! Plus, I can guarantee you already have the supplies in the classroom or at home right now.
Another reason why I love this Magic Snowflake Science Experiment is that it comes in both paper and digital versions. These days, it’s a smart move for teachers to have both versions available for most activities, since we never really know when we will have to switch gears to distance learning mode. Preparedness is key!
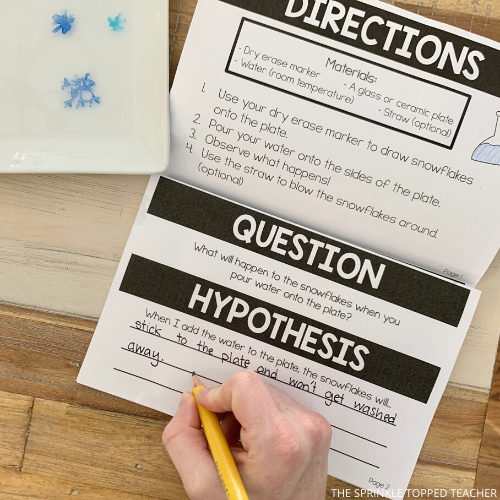
How does the Magic Snowflake Science Experiment work?
All you need for the Magic Snowflake Science Experiment is water, a ceramic plate, and a dry-erase marker. Optionally, you can use a straw for an extra step in the experiment. Yes, that’s it!
Essentially, students draw snowflakes on a ceramic plate with their whiteboard markers. When you add water, the snowflakes magically float off the plate and around the water! It seems like magic, but it’s really just some good old science.
The experiment is a great, easy way to introduce your students to the scientific method. All of your students will follow these steps throughout their experiment:
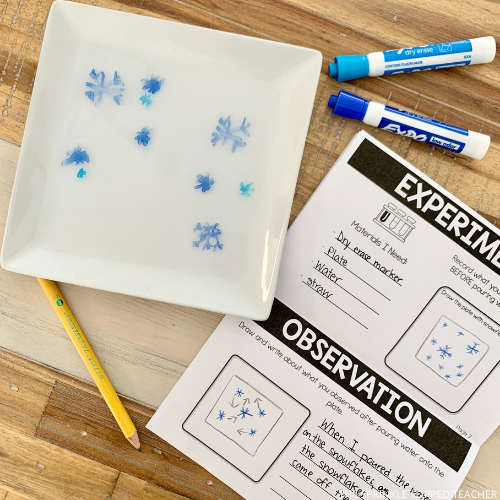
- Question — Students will ponder the guided question, “What will happen to the snowflakes on the plate when water is poured on top?”
- Hypothesis — Your students will each come up with their own hypothesis for what they think will happen to the snowflakes during the experiment.
- Experiment — Each student will list their materials and conduct their snowflake experiment.
- Observations — Now, your students can describe what happened!
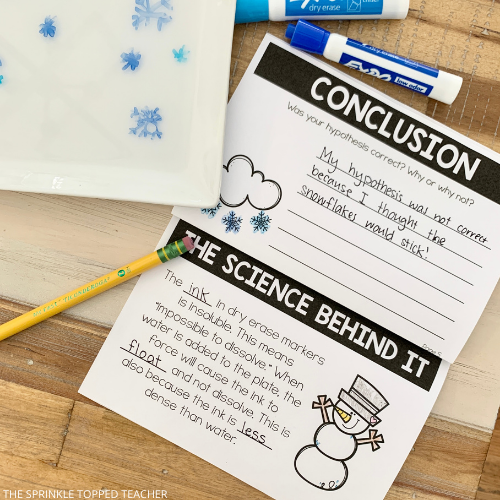
- Conclusion — Finally, there’s space for students to reflect on what they learned during the lesson.
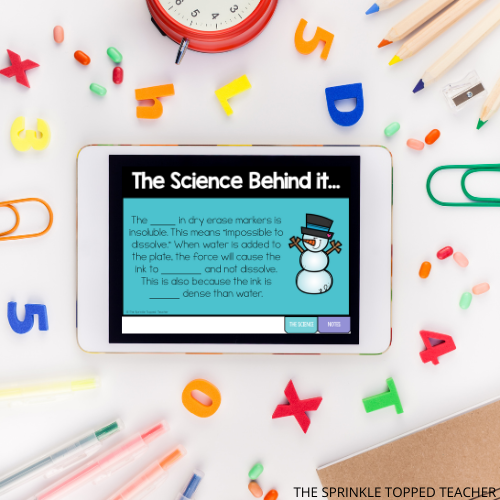
At the end of their findings, students will discover the real scientific explanation behind the magical lifting snowflakes. Both print and digital handouts will walk you and your students through the experiment, so there is less planning, thinking, and stressing on your part!
How does the digital version of the experiment work?
This Magic Snowflake Science Experiment now comes in an easy digital format, thanks to Google Slides! Each slide has a different step in the experiment, so students can simply click through each step.
The digital version has premade text boxes so your students can easily type in their findings at every step. Plus, there are editable directions at the side of each slide so you can customize the activity to perfectly fit the needs of you and your students.
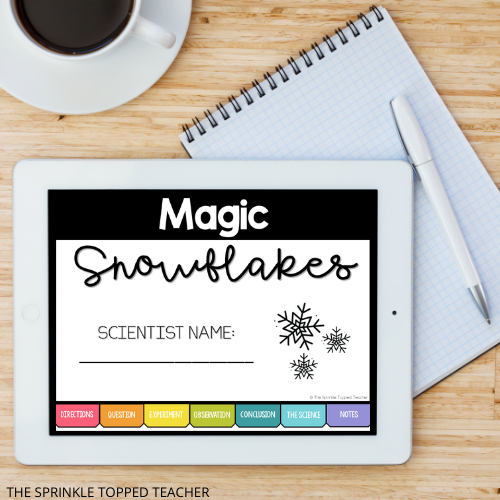
If you are teaching remotely or drawing up a virtual learning syllabus, it’s easy to incorporate this science experiment into your plans for the day. Students can easily conduct this experiment at home, especially since they likely have the supplies at home.
You can even record yourself conducting the experiment so they have some extra guidance. If you’re not comfortable in front of the camera, look to Youtube to find videos with simple explanations of the scientific method!
The digital format is great for Zoom or video meeting lessons, too! Just share your screen and click through the slides at your students’ pace so they can follow along with ease.
Try it out with your kids today!
No matter how you choose to use this Magic Snowflake Science Experiment in your classroom, your kids are sure to squeal with delight during this activity. Check out the link for a fantastic experiment to successfully teach the scientific method to students. Have so much fun, and enjoy!
Have you tried any snow science experiments for kids? Which ones are your favorites? I’d love to hear from you!