Hot Chocolate Marshmallow Science Experiment
What’s better than a warm cup of hot cocoa on a chilly winter day? Hot cocoa science! No, this isn’t a false alarm — you can actually use hot cocoa to teach your students with this hot chocolate science experiment!
Here in Minnesota, we need all they help we can get to warm up in the freezing winter months. Seriously people, it’s no joke!
If you’re like me and have a sweet tooth, anytime you can manage to bring treats into the classroom for learning’s sake is a win. Plus, you have to love seeing the look on students’ faces when sweets are involved in a lesson.
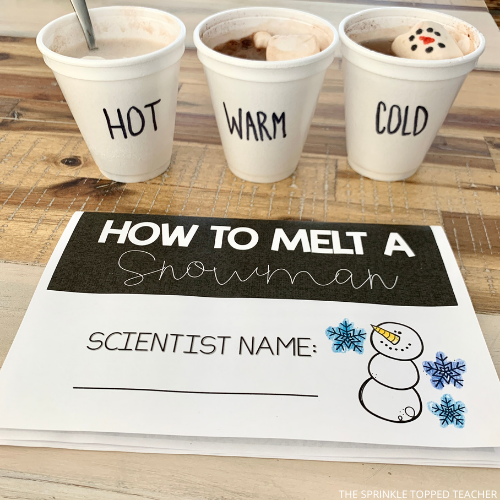
But I promise you, this Hot Chocolate Science Experiment is just as educational as it is delicious! This winter science experiment is a fantastic way to teach your kids about the scientific method. It has all the basic elements of the scientific method in an easy-to-follow, step-by-step format.
I can’t think of a better way to introduce my students to the scientific method or brush up on their science skills than with a steaming hot cup of chocolatey goodness. I can’t imagine they would disagree, either!
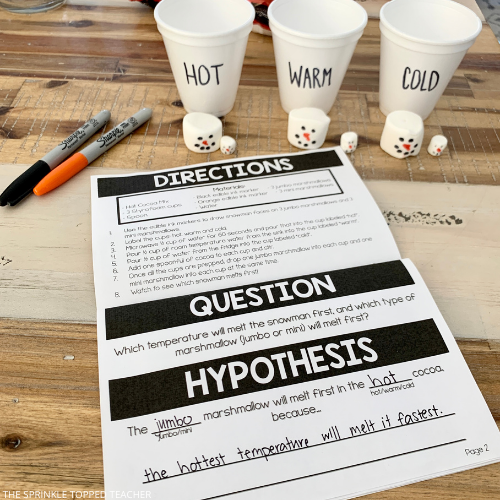
Even better, this activity is SUPER low-prep and requires just a few simple supplies. In fact, you probably already have these lying around your house — that is, if you’re a hot chocolate fanatic like me! If not, just a trip to the grocery or dollar store is all you need to gather the necessary items to complete this experiment with your students.
Since the supplies are household items and easy to obtain, it would be a breeze for students to conduct this experiment at home as well.
I’ve provided both a print handout AND digital resource so your students can achieve the same learning outcomes, whether in-person or while distance learning!
What is the Hot Chocolate Marshmallow Science Experiment?
In this hot chocolate science experiment, your students will learn how temperature affects the rate of melting!
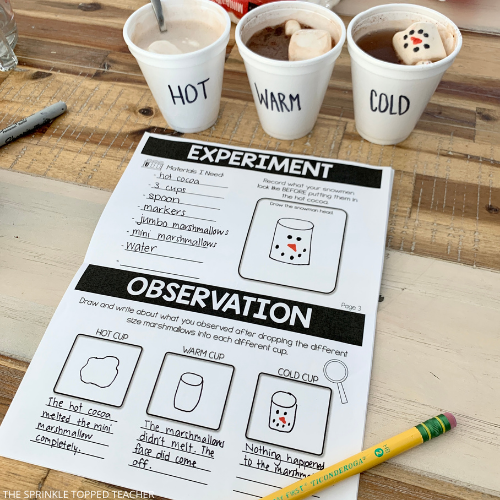
First, they are given three different cups of hot chocolate. One will be hot, one will be cold, and one will be room temperature.
Next, you or your students will draw snowmen faces on the marshmallows. So cute! You can use any type of marker, but it’s best to use non-toxic or edible markers if you plan to let your students taste the yummy hot cocoa after they conclude the experiment.
Finally, students will observe the rate at which each marshmallow melts in their respective cups and draw up their conclusions!
What’s included in this Hot Cocoa Science Resource?
This hot cocoa science resource has absolutely everything you need to easily lead your classroom on a delicious science journey and practice their knowledge of the scientific method. Each handout includes…
· Cover Page
· Page 1: Explanation of the hot cocoa experiment (super useful for the parents)
· Page 2: Guided question and setting up a hypothesis
· Page 3: The actual experiment in both picture form and written form
· Page 4: Observations (in both written and picture form)
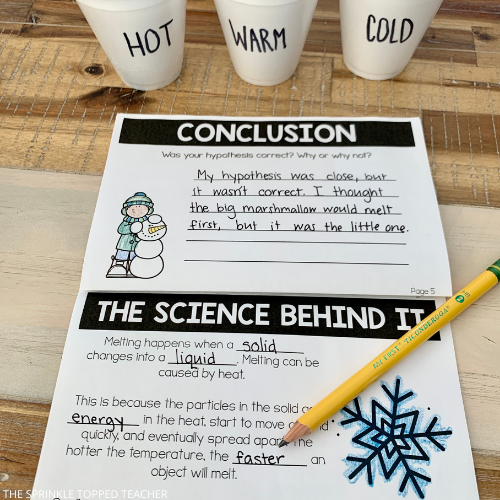
· Page 5: Conclusion
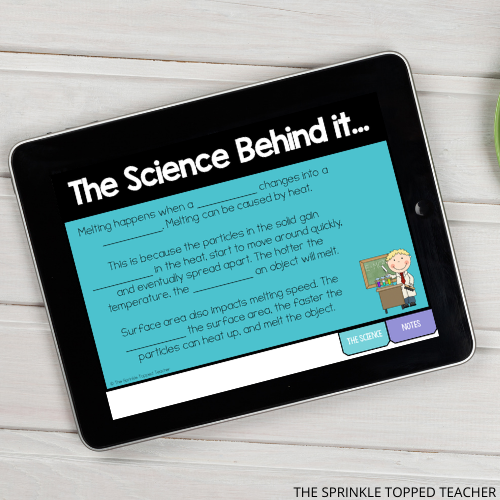
· Page 6: Explanation of the science behind the experiment (also includes a fill in the blank option)
These pages are easily printable and require little prep to get the ball rolling! Just print, gather all of your supplies, and you’re ready to go!
The fun doesn’t stop there — you’ll also get access to a digital resource so your students can stay up to date with their curriculum at home!
How does the digital version of hot cocoa science work?
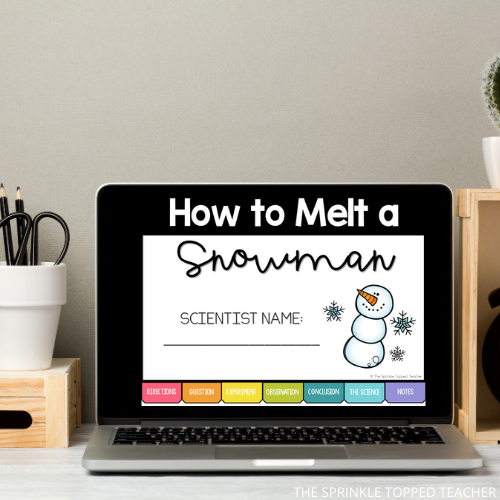
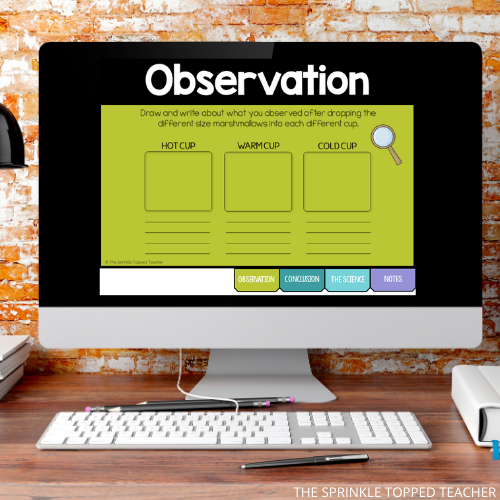
Thanks to Google Slides, now you can get this Hot Chocolate Science Experiment at your fingertips! Each slide has a different step in the experiment, so students can simply click through each step.
The slides are easy to click through so both you and your students can easily navigate their way through the lesson.
The digital version has premade text boxes so your students can easily type in their findings at every step. Plus, there are editable directions at the side of each slide so you can customize the activity to perfectly fit your students’ needs.
If you are teaching remotely or drawing up a virtual learning syllabus, it’s easy to incorporate this hot cocoa science experiment into your plans for the day. Students can easily conduct this experiment at home.
You can even record yourself conducting the experiment so they have some extra guidance. If you’re not comfortable in front of the camera, look to Youtube to find videos with simple explanations of the scientific method!
This digital format is great for Zoom or video meeting lessons, too! Just share your screen and click through the slides at your students’ pace so they can follow along with ease.
Try Hot Chocolate Science Experiment Today:
For a super sweet way to teach your students about the scientific method, look no further than this Hot Chocolate Science Experiment! Your students will be delighted to work through this activity, whether they’re in the classroom or learning remotely.
What are your favorite ways to teach the scientific method in your classroom? I’d love to hear about them!