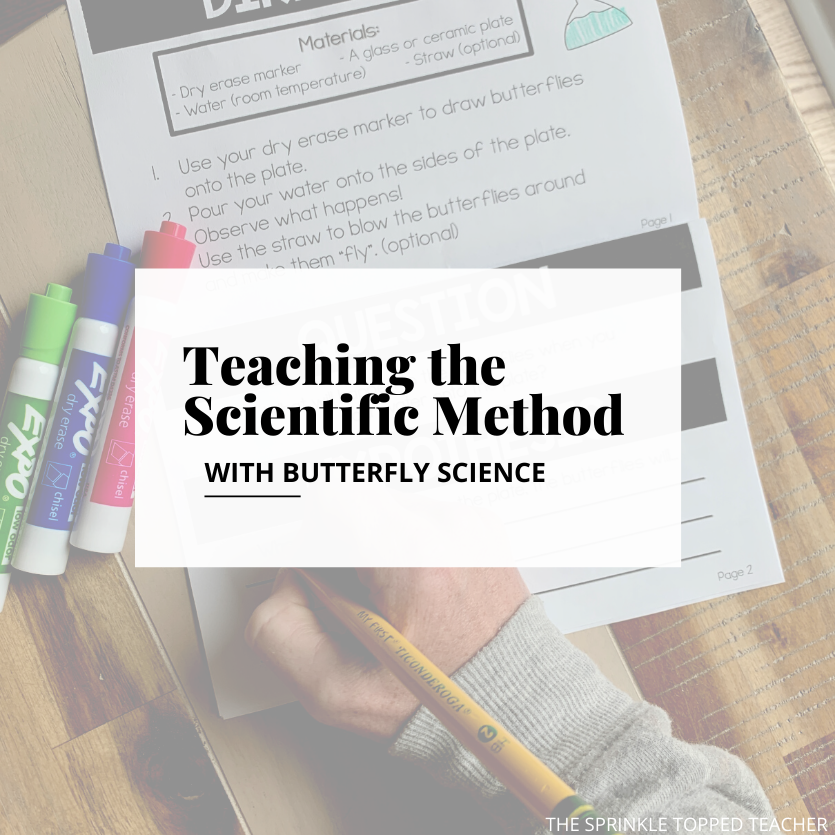
Teaching the Scientific Method with Butterfly Science!
One of my favorite units to teach in 2nd grade is butterfly science! I always look forward to bringing butterflies into the curriculum. Not only because they are cute and beautiful to look at, but because students can learn a ton from the butterfly life cycle.
My kids definitely get excited to learn about butterflies, too. The butterfly life cycle is one of nature’s greatest miracles, and the transformation truly seems magical to young learners. It does to me, at least!
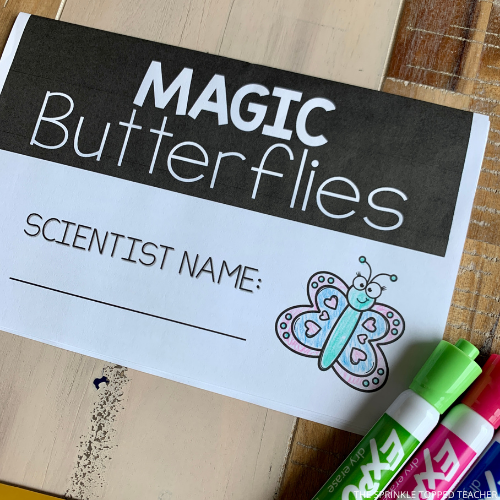
As fun as butterfly science is, it can be tricky to fill a whole unit with educational butterfly activities. Once you’ve covered the life cycle, there’s no clear extension. However, I found a great way to keep the butterfly learning going: teaching the scientific method with a butterfly-themed experiment!
This Magic Butterfly Science Experiment is a staple in my spring classroom activities. It’s fun, engaging, AND teaches the basic steps of the scientific method!
Why I love this Magic Butterfly Science Experiment
If you know me, you know I love class activities that are super low prep, engaging, and require few supplies. This butterfly science experiment checks all of those boxes and more!
All you need for the Magic Butterfly Science Experiment are…
● Dry erase markers — Use whatever colors you have or stock up on enough to pass around the classroom! You can also ask your coworkers to lend you their markers. Mine are always happy to help!
● Glass or ceramic plates — If you don’t have enough of these for each student, they can take turns or work in groups. This would be a great activity to include in butterfly-themed centers.
● Room temperature water — I like to pass out paper or plastic cups of water. You don’t need much, but the specific amount depends on how large your plates are!
● Straws (optional) — You’ll read why the straws come in handy in a moment!
I also love that this experiment can be done in-person or digitally. This is great for classes that are in distance learning or for anyone who wants their students to experiment at home.

How does the Magic Butterfly Science Experiment work?
This butterfly science experiment is super easy. It’s perfect for my 2nd graders, but it could work in classrooms from 1st to 5th grade as well! Although it’s simple to do, it still effectively teaches the key steps of the scientific method and makes it easy for younger students to understand the process.
First, students need to make their hypothesis: their best prediction of what will happen in the experiment! It’s always fun seeing my 2nd graders make their guesses about these magic butterflies. The final result is usually a surprise for everyone!
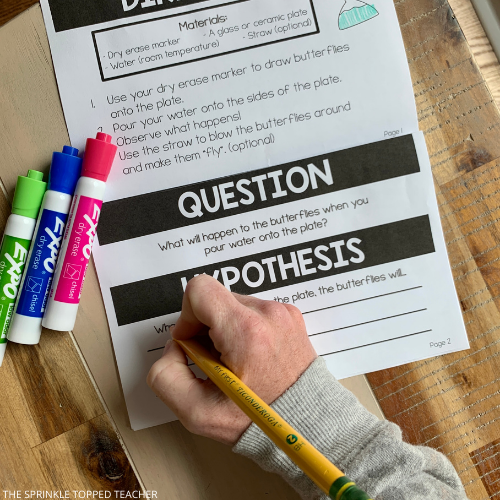
Second, students use a dry erase marker to draw a butterfly onto a ceramic plate. They can get creative with their colors and the shapes of the butterfly wings! I like to provide them with an example so they have some inspiration to work off of.
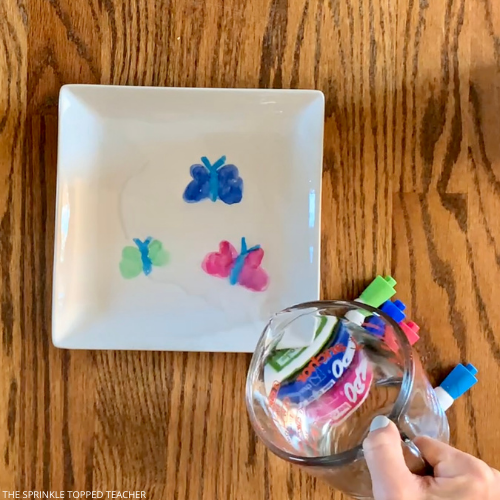
Next, they take a glass of water and pour it slowly around the edges of the plate. The water will cause the butterflies to *magically* lift off of the ceramic plate! I love this part. I always get a big reaction from the class.
Optional (but highly recommended), you can pass out some straws to your students and let them gently blow air on the butterflies. This makes them look like they’re flying around! It’s so cute, and a great way to end the experiment.
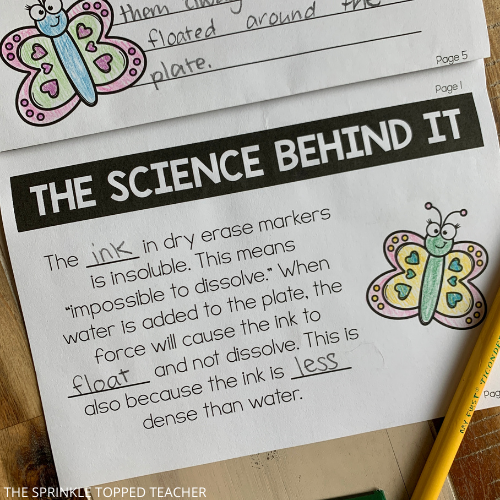
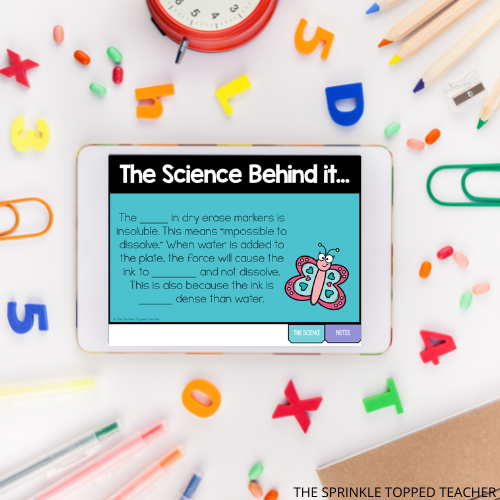
Finally, students write down their final observations and learn the science behind the magic butterflies. Since the ink in dry erase markers is insoluble, the force of the water causes them to lift up, but not dissolve. The ink also floats because it is less dense than water. These are two amazing science lessons, and I love being able to teach them to younger students in an engaging way!
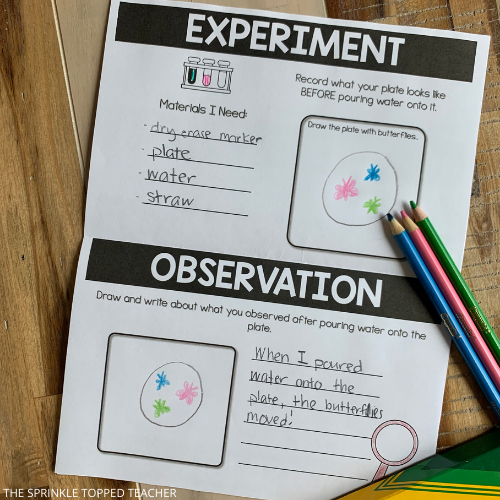
What’s included in the Magic Butterfly Science Experiment resource?
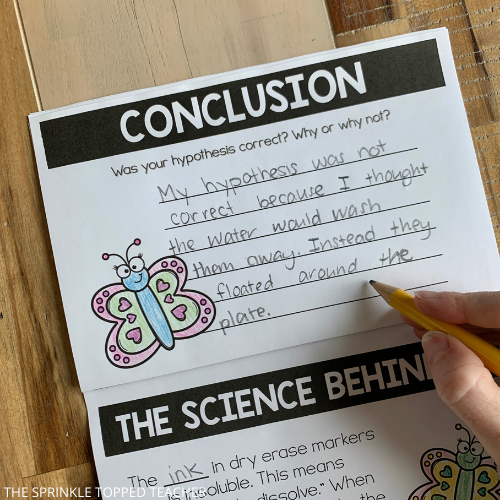
In this butterfly science resource, you get a paper version of the experiment and a digital version on Google Slides. Each version has thorough, easy-to-follow directions, so students can experiment without constant guidance on your end. There is space in both formats for students to record their hypotheses, observations, and conclusions throughout the experiment.
If you are doing this experiment digitally, here are my three favorite ways to do so:
1. Pre-record the experiment
Comfortable in front of the camera? Simply record yourself completing every step of the butterfly science experiment and send the video to your students. You could even just record your hands only if you are a little camera shy!
They can either observe what happens in the experiment from the video, or follow along with their own supplies at home as they watch. Either way, it’s a great option if you want the teaching to be one-and-done. You record once, and you’re good to go!
2. Complete the experiment live
Does your class do distance learning on Zoom? If so, lead the class through the experiment on your Zoom call or other video meeting. This way, you can time each step to match the class’s progress. Students will also be able to ask you questions along the way.
3. Have students complete the activity at home
Thanks to the clear directions and clickable tabs, students can easily complete this butterfly science experiment at home. Make sure that their families are aware of the activity so they can have the necessary assistance and supplies at the ready.
Conclusion
The butterfly science unit is one of my favorite things to teach in the classroom. However, it can be hard to find enough butterfly-themed activities to fill up the unit and keep the fun going. Enrich your butterfly science unit this spring with my Magic Butterfly Science Experiment!
Do you teach a butterfly unit in your class? How about a life cycle unit?